
 English
 русский
 Español
 عربى
HAOMAI HAOMAI HAOMAI HAOMAI HAOMAI
HAOMAI HAOMAI HAOMAI HAOMAI
Anyone who cuts timber regularly knows how frustrating it is to get a workpiece slightly out of position. A board may be a few millimeters too short, a trim piece may not meet the adjoining section cleanly, or several identical parts may end up with slightly different lengths. These problems often start with something quite simple: the operator cannot clearly see where the blade will cut.
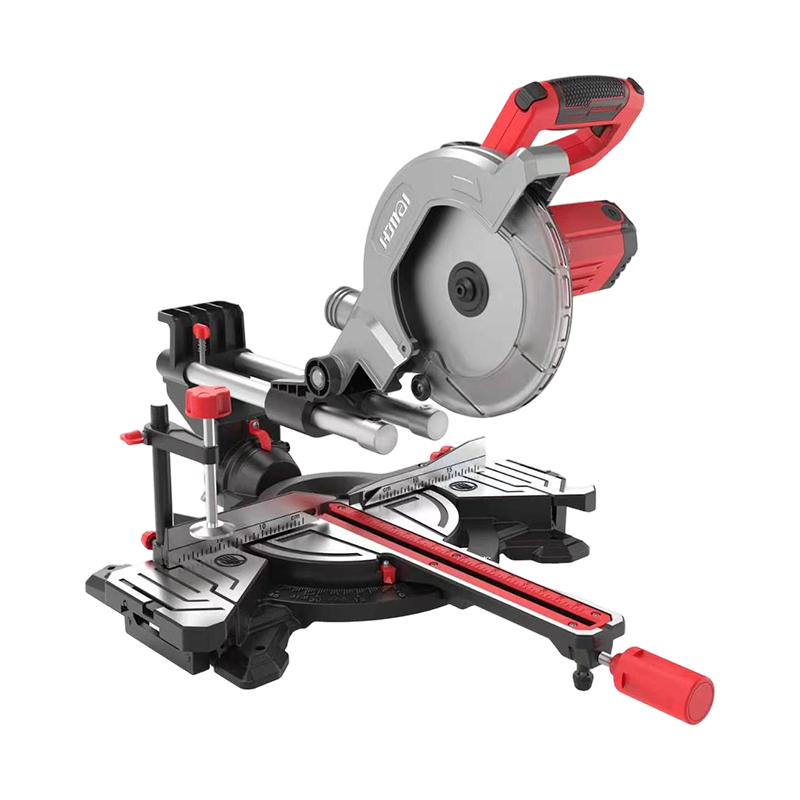
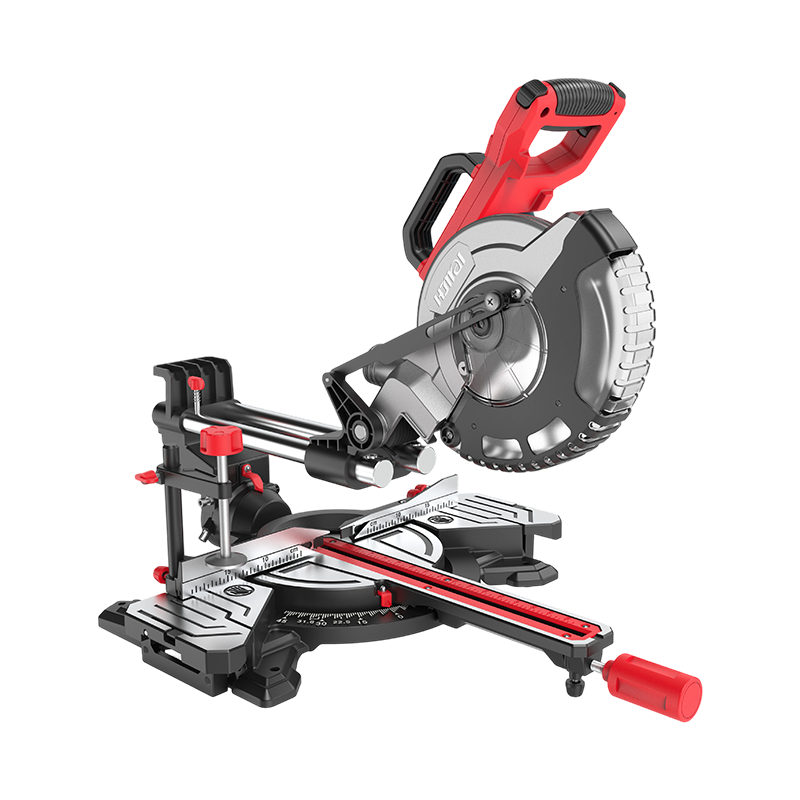
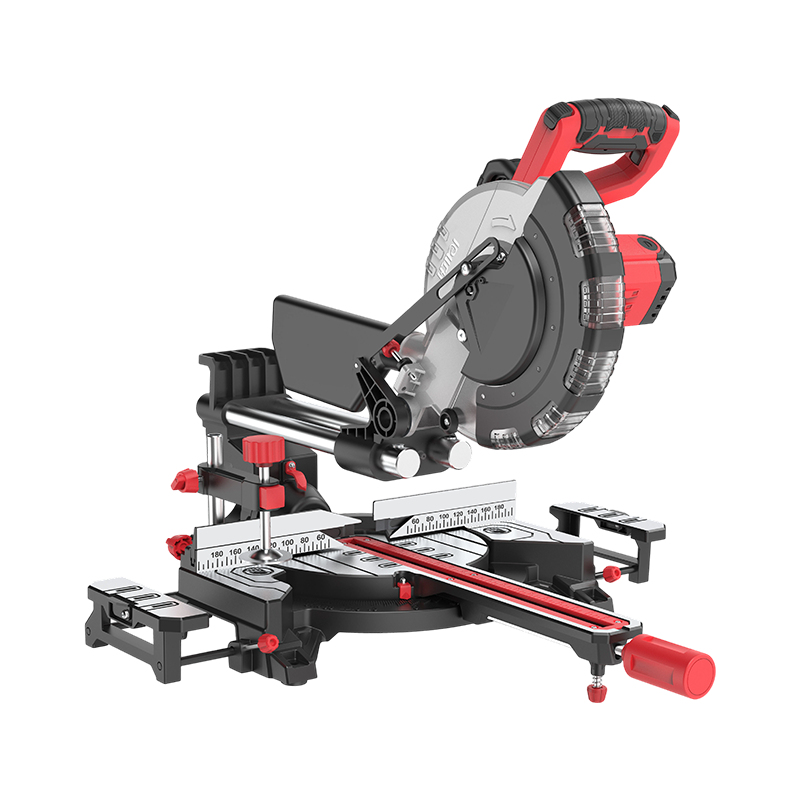
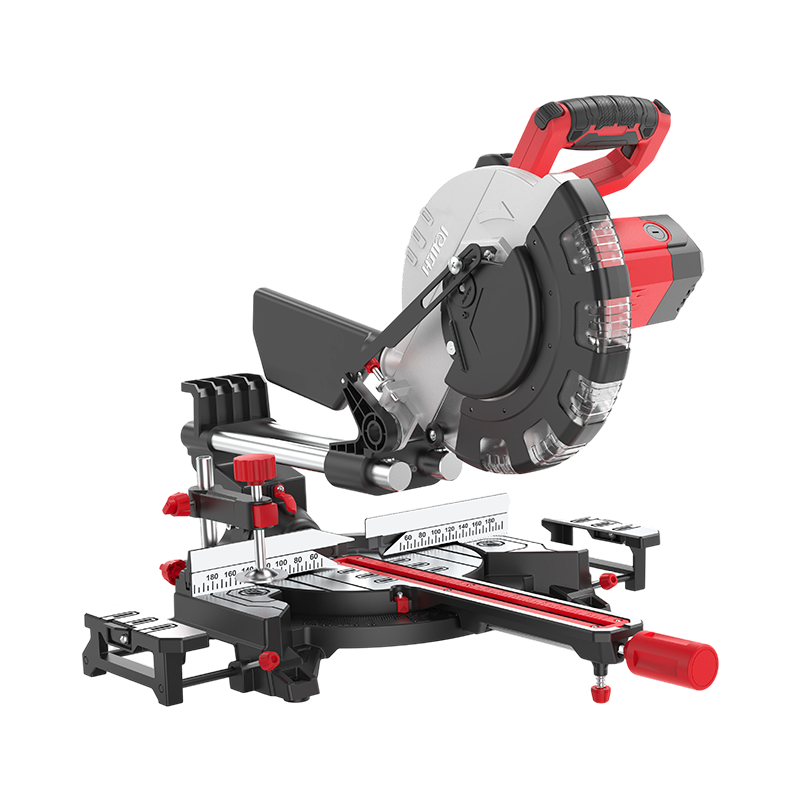
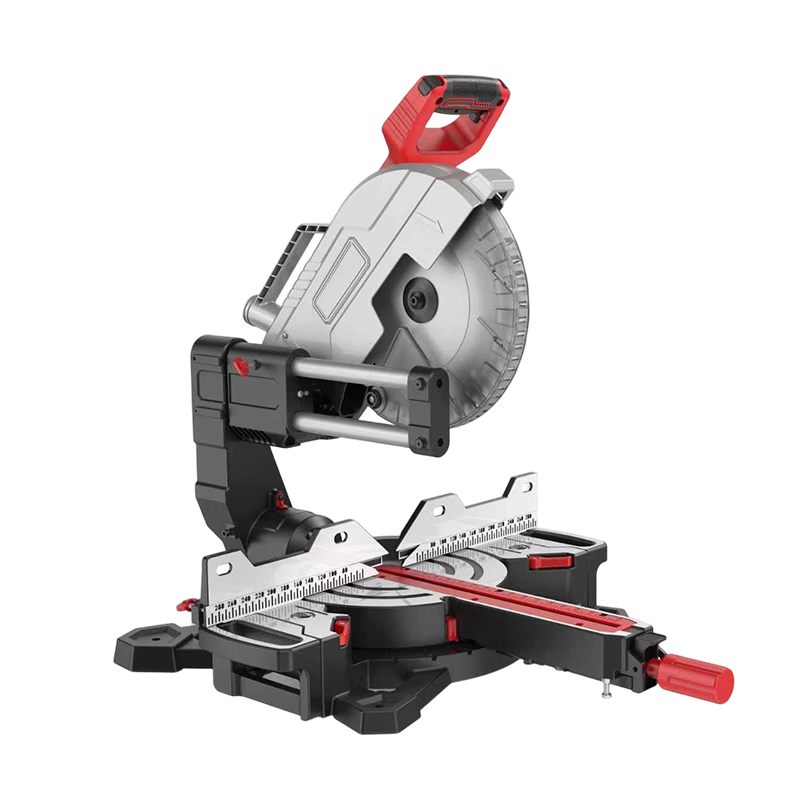
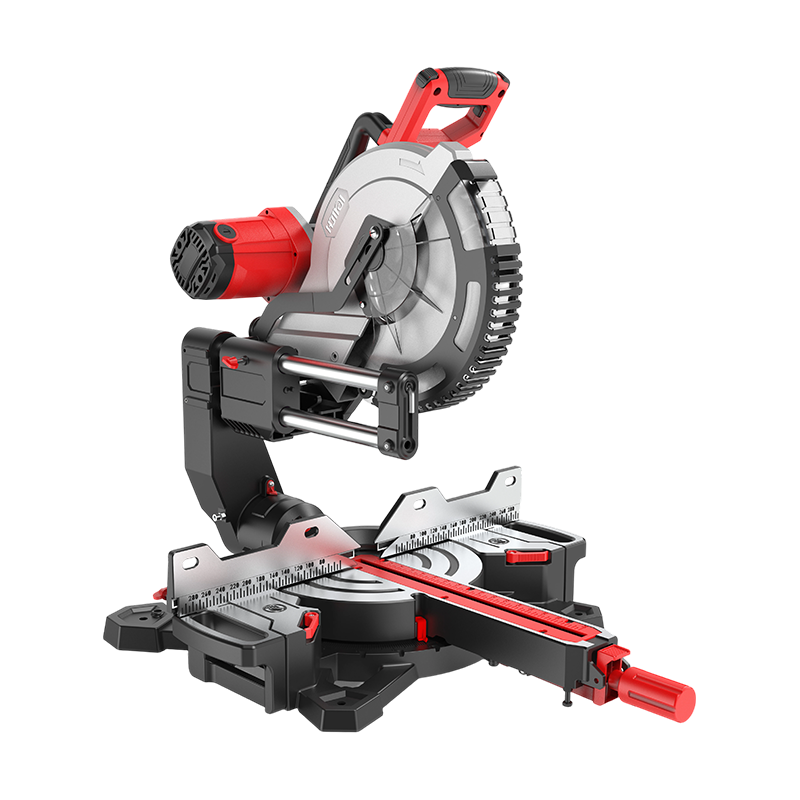
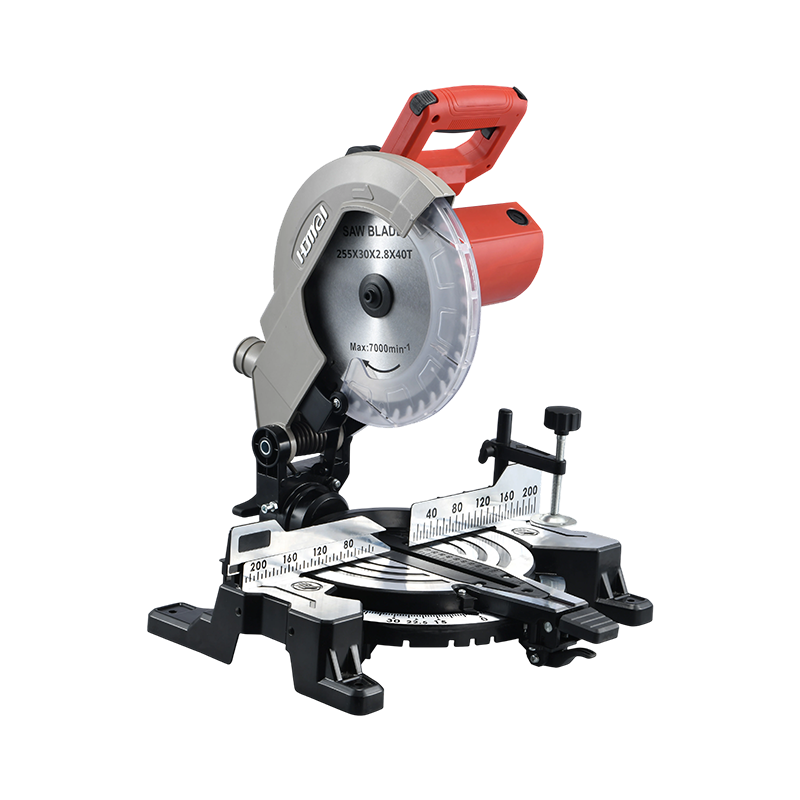
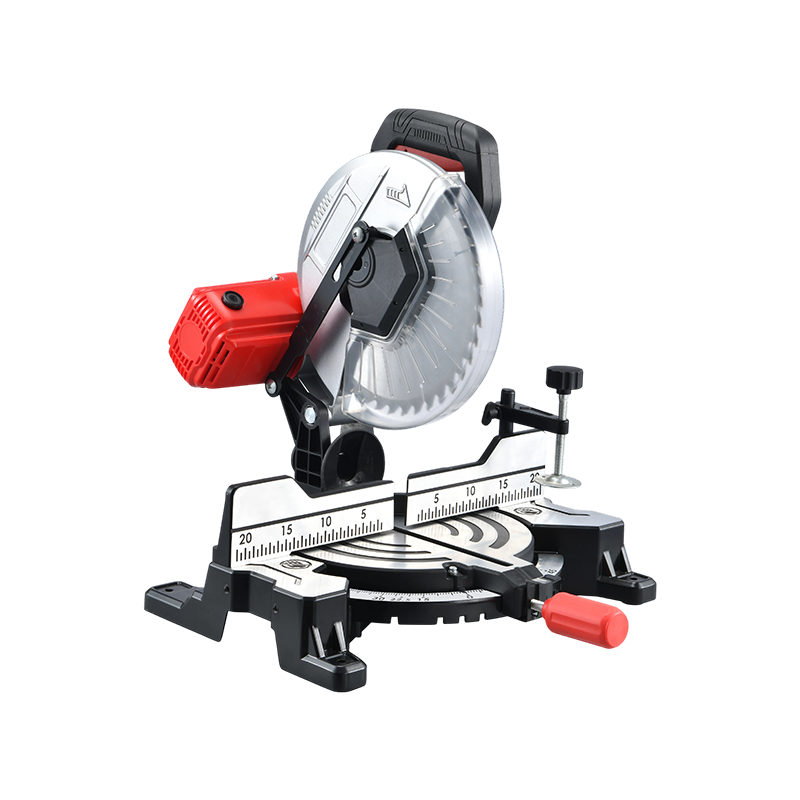
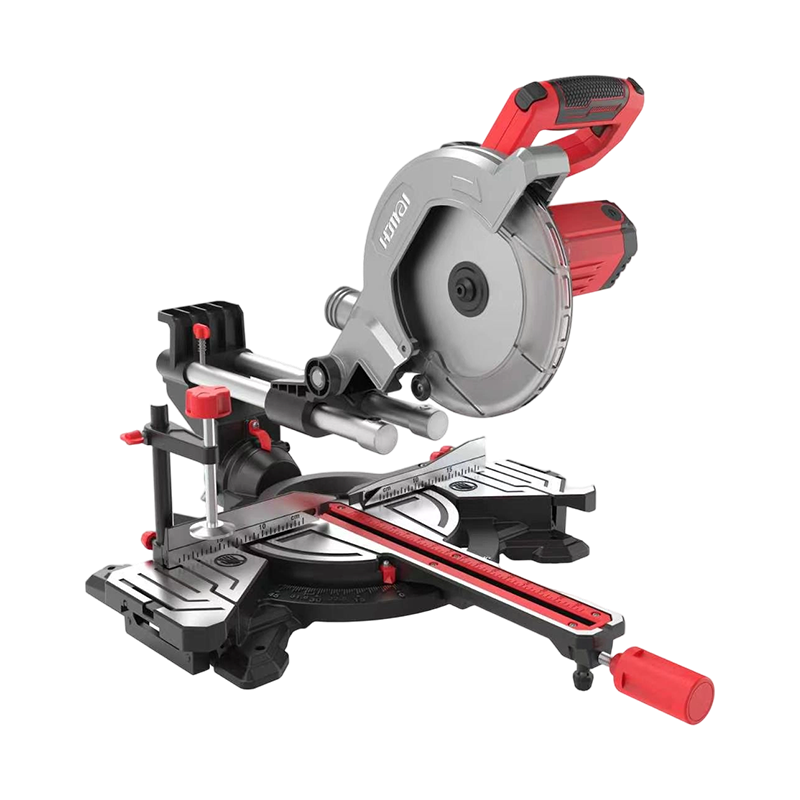
A Miter Saw With Shadow Line uses an LED light to cast the blade's shadow onto the workpiece. Rather than estimating the cutting position from the side of the blade or relying entirely on a pencil mark, the operator has a visible reference directly on the material.
How the Shadow Line Works
An LED light is positioned near the saw blade. When the blade blocks the light, its outline appears on the surface of the workpiece. The shadow shows the cutting area and gives the operator a reference for positioning the material.
This differs from a laser guide. A laser projects a separate line, whereas a shadow line is produced by the blade itself. The operator can use it to see where the blade is expected to pass and where material will be removed.
In everyday workshop use, this is helpful when cutting narrow boards, cabinet parts, molding and decorative trim. There is less need to repeatedly lower the blade just to check its position.
One detail needs checking when setting up the saw: the relationship between the shadow and the blade's kerf. Depending on the model, the reference may indicate a particular edge of the cut rather than its center. A test cut on scrap wood will show exactly how the shadow corresponds to the finished edge.
Position Workpieces With Less Guesswork
Consider a workshop producing cabinet frames. Operators may cut many pieces to similar dimensions throughout the day. If each piece is positioned slightly differently, the variations can become noticeable during assembly.
The shadow gives operators a consistent visual reference before they lower the blade. They can move the board until the intended cutting point lines up with the shadow, then secure it in place.
This does not replace a tape measure or stop block. Those tools establish the required length; the shadow helps locate the blade relative to the material. Used together, they make repeated positioning easier and reduce the chance of cutting on the wrong side of a pencil mark.
Working With Miter and Bevel Angles
Miter saws are frequently used for picture frames, furniture components, skirting boards and interior trim. Some models also allow the blade to tilt for bevel cuts.
The shadow remains useful when the cutting head or table is angled, since it continues to show the blade's projected cutting position. However, it does not measure or correct the angle.
That job belongs to the saw's adjustment mechanism and angle stops. Operators should check the common 90-degree and 45-degree settings with a suitable measuring tool, particularly after moving the machine or changing its setup. A clear shadow cannot compensate for a table or fence that is out of alignment.
Shadow Line Compared With Other Cutting Guides
| Saw type | How the cut is indicated | Main consideration |
|---|---|---|
| Conventional miter saw | Operator uses measurements and pencil marks | Relies more heavily on manual positioning |
| Laser-guided saw | Projects a laser line onto the workpiece | Line alignment may need adjustment |
| Shadow line saw | Blade casts its own shadow onto the material | Visibility depends on lighting and blade condition |
| Shadow line with LED work light | Provides a cutting reference and additional illumination | LED placement and cleanliness affect visibility |
A shadow line is convenient because it follows the blade profile, but it still needs to be visible. Strong ambient light, accumulated dust or a poorly positioned LED can make the shadow difficult to distinguish.
Keep Production Cuts Consistent
The shadow line is most useful when it becomes part of a repeatable cutting routine. Operators should measure the workpiece, position it against the fence, align the cutting point with the shadow and secure the material before making the cut.
For batches of identical components, stop blocks are particularly useful. Once the required length has been set, each new board can be positioned against the stop. The shadow then helps confirm where the blade will pass.
Long boards need proper support on both sides of the saw. A workpiece that shifts during cutting can produce an inaccurate result even when the blade was correctly positioned at the beginning.
Maintenance That Affects Shadow Line Accuracy
The LED system needs relatively little attention, but dust around the light source and blade can reduce shadow clarity. Keeping this area clean makes the cutting reference easier to see.
Blade condition matters as well. Worn or damaged teeth can leave rough edges and affect cutting quality. After installing a replacement blade, operators should make a few test cuts and check that the shadow still corresponds to the actual cutting path.
The fence, miter scale and bevel settings should also be inspected periodically. If the machine has been transported, repaired or subjected to heavy use, checking its alignment before returning to production is sensible.
Selecting a Saw for Workshop Use
The shadow line is only one feature to consider when buying a miter saw. Cutting capacity, blade diameter, motor power and available miter and bevel ranges determine whether the machine can handle the materials used in the workshop.
A small joinery shop may need a compact saw for trim and frame components. A furniture factory working with wider boards may require greater cutting capacity and stronger material support.
Before committing to a model, make test cuts using the actual materials handled in production. Also check the availability of replacement blades, LED components and technical support.
A Clearer View of the Cut
A Miter Saw With Shadow Line lets operators see the blade's cutting position before committing to the cut. That is particularly useful when positioning narrow pieces or producing repeated components where small alignment differences can affect assembly.
It will not correct inaccurate measurements, a misaligned fence or a worn blade. Its value lies in removing some of the uncertainty at the point of cutting, giving operators a clearer reference while they work.

Need support
yuhaoying@zjhaomai.com
Need support
yuxuanying@zjhaomai.com

Add
No. 887 Huangcheng North Road, Economic Development Zone, Yongkang City, Zhejiang Province